Creating Photorealistic 3D Product Renders For Your Marketing
If you are considering marketing products, there are various options when it comes to choosing what type of content you want to create and how you want to display them.
When deciding on the direction you want your campaign to take, there are number of key questions that need to be answered prior to starting production.
1- What media platform are you making it for?
2- Are you going to create images or do you need videos
3-Does the final product exist for you to use with photography
4-Do you want to illustrate it, photograph it or make a photorealistic 3D product renders of it in CGI
5-What kind of budget do you have and what do you get for out money
6-Who do you ask to get advice on what is the best way to create your idea
These are all questions that clients go through before settling on using CGI for the creation of their campaign content and in this article, we will walk you through just how useful CGI can be when you are considering making your product and thinking about the campaign you are going to put together.
Are You Looking To Create 3D Product Renderings?
3D Product Renders Of ‘Hard Surface’ Objects
Now, I’m sure if you have followed any of our previous posts, you have heard us talk about the benefits of working with CGI vs working with photography, you will have learnt about some of the benefits of using CGI, and in this article, we wanted to expand on this a bit more by discussing ‘Hard surface’ objects.
So, what are ‘Hard Surface’ Objects? They are anything that is a physical object which is not liquid, organic, creature or human. So, when it comes to products we are talking about things like bottles, electrical items, appliances, cars etc.
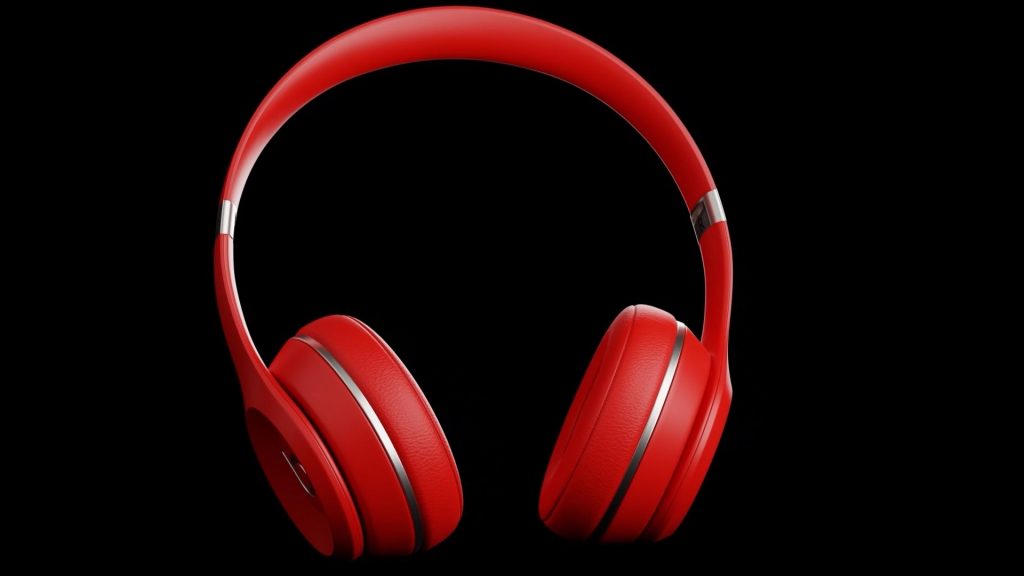
As we are focusing this article on Hard Surface objects, we have created a product spotlight featuring photorealistic 3D product rendering and animations of a pair of luxury headphones in order to demonstrate A) how CGI works B) how flexible CGI models are to work with.
Headphones 3D Product Renders Spotlight
In the video below we share with you some of the things you can do with just a single asset, in this case a 3D model, and highlight the stages that a 3D/CG model, that we created, goes through to achieve the final 3D photorealistic product renderings.
As you can see, from the video, these are just a few examples of the media formats that can be created from a CG model, also check out our post on Getting Your CGI Images and Animations to work harder for you which may help you start to think about how you can use CGI in your next campaign.
3D Product Rendering For Seductive Product Shots
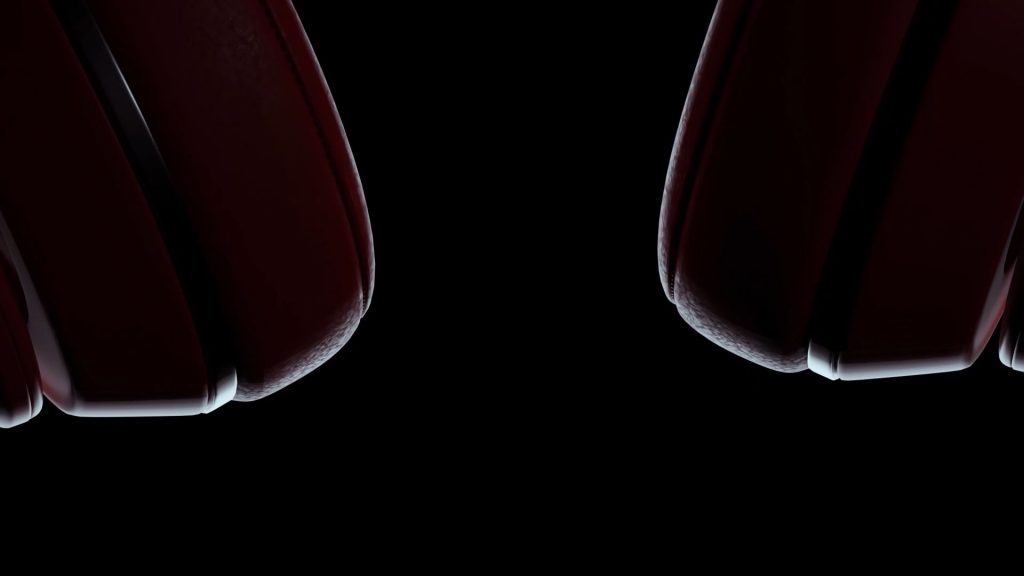
You will notice the first few shots of this video were intentionally created with very close up cameras allowing us to really dial into the detail whilst animating the content inside the camera, suspending the headphones in mid-air with an empty background.

You will then see we have used the same model and pulled the centre much further out to show case the entire product again on a transparent canvas and move the object within camera to achieve secondary movement. A key thing to note here is, that at each of these stages, high resolution images can be rendered which can then be used for your print or image-based advertising.

Now, where things start to get quite interesting is at the end of the animation. In order to create a photorealistic 3d product render we are required to make a number of unique render passes ( these are image layers which contain specific properties, that on their own look a little strange, but when composited together give you a photorealistic look which can then be reused further to create a specific aesthetic look without having to reshoot, which would be the case for other media such as photography). This is something that is unique to 3D product rendering which also means you can change the lighting effects extremely easily from within the 3D software eliminating the need for restaging the product, which would be the case if using photography, and also, by using CGI it allows you to change parts of the image and scene

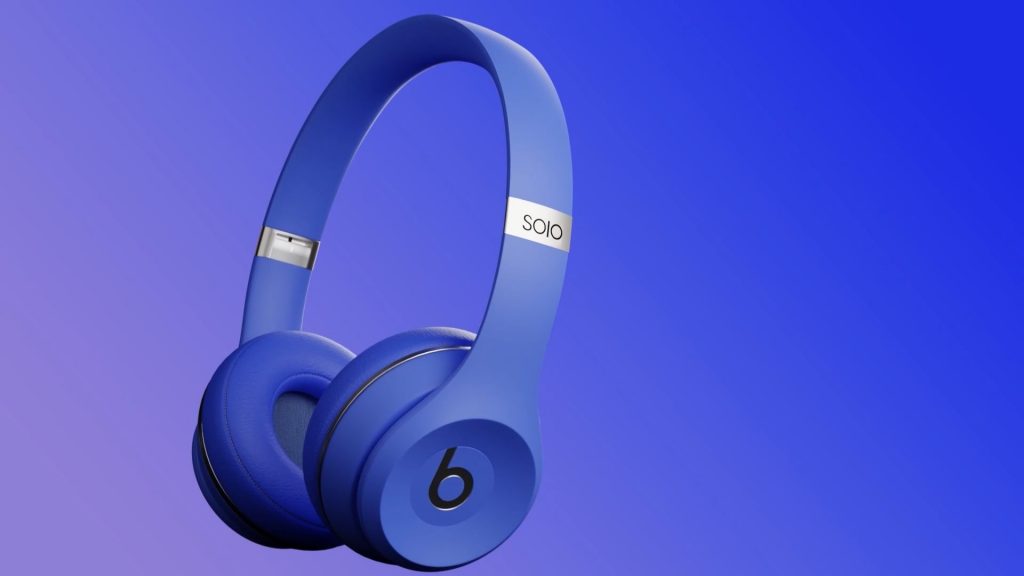
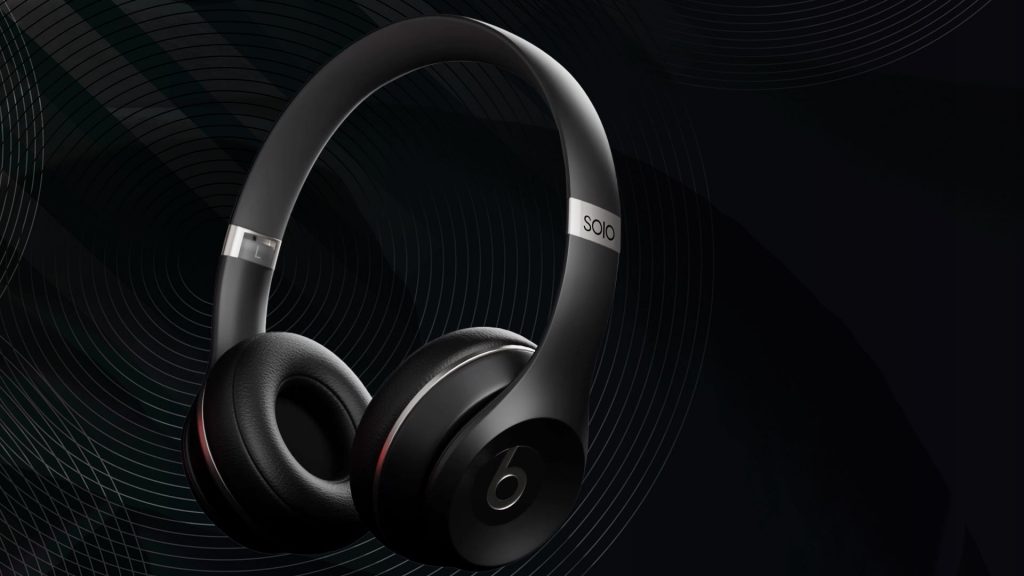
Once the scene is setup it is then easy to completely change the texture properties of the product by going back into the 3D software and changing the colour values as illustrated below.

In addition, we also wanted to demonstrate how flexible a 3D scene can be and below are some examples of where we have replaced the empty background with photographic plates. This is made possible by having the ability to remove the backgrounds from the photorealistic 3D product renders using an accurate transparent mask to allow composition over any choice of background.


Final Thoughts On 3D Product Rendering And Animations
For me as a fellow creative I find this level of creative flexibility a life saver when it comes to utilising my product images and videos to get the maximum amount of usage out of them. When I have to create a lot of unique content for platforms like social, point of sale, DOOH, Broadcast, and below the line, for my campaigns, I know that my initial investment, in producing CGI, will work hard for me, and allow me to create what I need without having to go back to the beginning and start parts of the image creation process again, ultimately saving me money and more importantly time.
If you would like to find out more about 3D product rendering or our product visualization services, and how this process works, or how best to use CGI for your product or campaign, then please feel free to contact one of our producers who will happily walk you through the process and give you an estimate on your project should you have one you’re looking to create.

